Rubber Stamping
I am fairly new to the world of rubber stamping; I have a few odds and ends of stamps
and had used them sparingly on a couple of projects but had not really used stamping as
the main focus of pieces of art.
Then, on a visit with my daughter, I was introduced to
a large volume of stamps all in one place! I had read a lot on the topic and had lots of
ideas - so I began to play.

Click on a thumbnail to see a larger imageHere are the first cards I created.
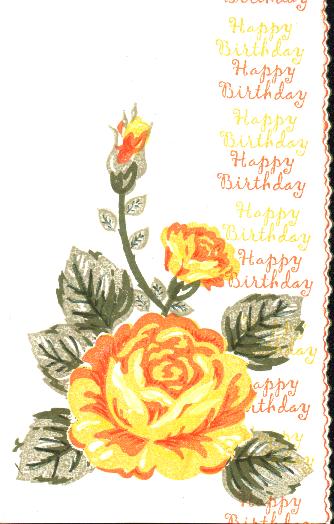
My First Cards
Stampin' Up
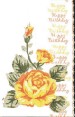
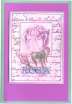
The floral is all of a set
stamped in layers.
Sentiment from another
Stampin' Up set. |

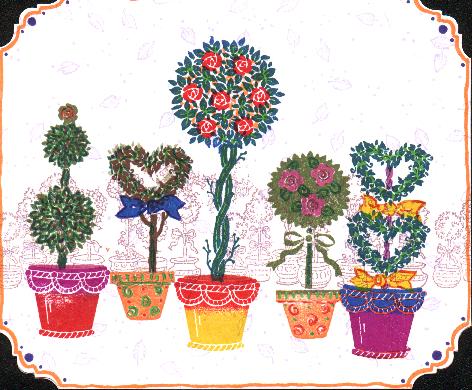
Stampin' Up
Bits and pieces from
several sets have
been combined.
Details added
with markers. |

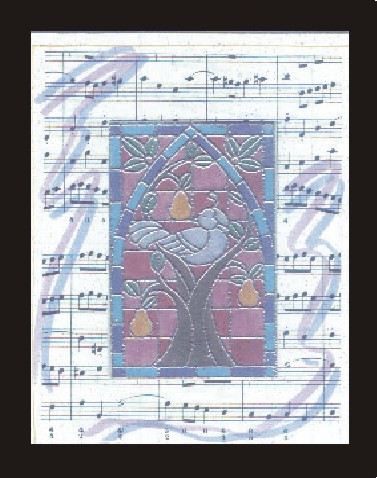
Stampin' Up
Stamped on vellum and
heat embossed in silver.
colored with markers
on back. Backed with
aluminum foil. Sides folded
under. Mounted with
doublestick tape. |
Then I bought more stamps and tried out some different techniques.
My Later Cards
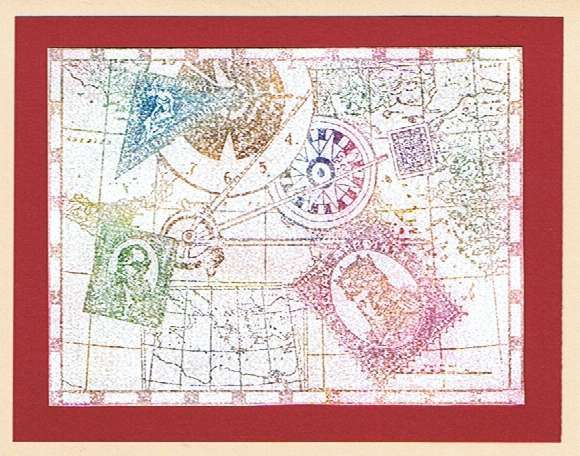
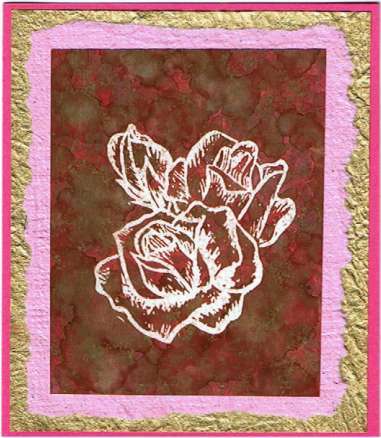
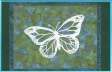
This is stamped with
VersaMark and chalked.
click here for a lesson. |
Make with the same
technique as the
last one. |

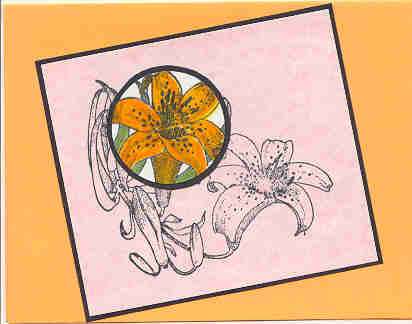
Spotlight
card |

Stamped border on
vellum. |
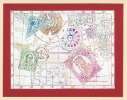
My hand carved
stamp and polished
stone technique
make Faux Batik. |

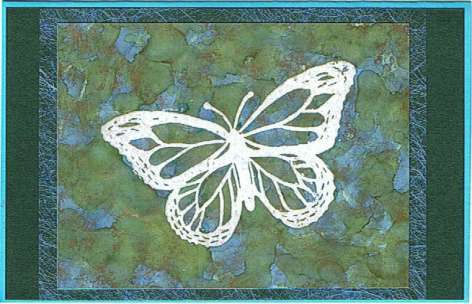
My hand carved
stamp and polished
stone technique
make Faux Batik. |

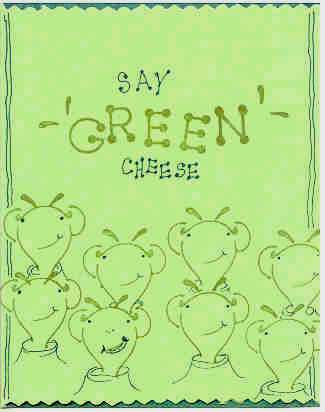
I picked up this
stamp and to me it
looked like a little
alien. I later learned
I had it upside down.
Its a NOSE! |

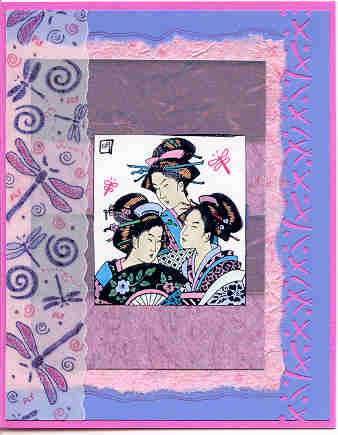
Stampin' Up
Image stamped and
then chalked with
a cotton tipped stick. |
For a resource list on stamping click here.
For links to other stamping sites click here.
http://mystudio3d.com