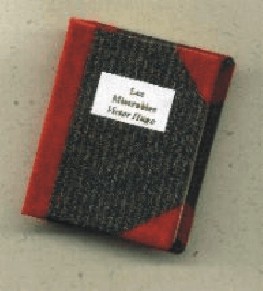
 |
| HOME | PAPERARTS | ARTWORK | CRAFTS | RESOURCES |
| E-MAIL ME | WRITING | PHOTOS | JEWELRY | LINKS |
How to Make a Miniature Book from a Sticky Note Pad
 |
| You will need the following supplies:
1 sticky-note pad measuring 1-1/2"x2" (pages) 2 pieces of light cardboard measuring 1-5/8"x2-1/4" (covers) 1 piece of light cardboard measuring 3/8"x2-1/4" (spine) 2 pieces of decorative paper measuring 2"x2-3/4" - wrapping paper, origami paper (cover) 1 piece of contrasting decorative paper measuring 3-3/4"x2-1/4" - gold foil, wrapping paper, marbled paper (end papers) 1 piece of colored paper or plastic tape measuring 1"x4" (spine and corners) adhesive (rubber cement, dry-line, etc.) |
These directions are keyed to the numbers in the graphic above:
Apply adhesive or double-stick tape ot the back of the sticky-note pad. Place sticky-note pad into the cover with the bound edge to the spine. Close the book. If you wish, add a "title" sticker to the front cover. |
| TOP |
http://mystudio3d.com