« April 2024 »
S M T W T F S
1 2 3 4 5 6
7 8 9 10 11 12 13
14 15 16 17 18 19 20
21 22 23 24 25 26 27
28 29 30
You are not logged in. Log in
Entries by Topic
All topics  «
3D paperwork
A - Z challenge 5
A - Z challenge 7
A - Z challenge round 4
A to Z challenge round 3
A to Z round 2
A to Z round 6
A-Z round 1
Around the House
Art Challenges
Artist Trading Cards
Backgrounds
Beads
Bible Journaling
Books
Boxes
Collage
Color Challenge
Coloring
cookbook
Die Cuts
Digital Projects
Digital Stamps
Drawing
Dry Embossing
Fabric Stuff
Fantastic Folds
Field Trip
Home Decor
How Does Your Garden Grow?
Hymnal Art
In The Kitchen
In the studio
Jewelry
Lettering
Links
Multi-Technique
Music to Work By
Musings
Nail Art
New Work
Online Class
Other Hobbies
Other Projects
Painting
Paper Embroidery
Paper Piecing
Photo
Pretty Paper
Quilting
Random
reading
Scrap Recovery
scrapbooking
Sewing
Sketch Challenge
Some Backlog
Stamping
Stencils
Stickers
Supplies
Teabag Folding
Techniques
Testing
tips and tricks
Tutorial
Web resources
Welcome to my Blog
Work By My Friends
workflow
Writing
Blog Tools
Edit your Blog
Build a Blog
RSS Feed
View Profile
Group One
In & Out of Studio 3D
Wednesday, 24 April 2024
Lights and Darks
Topic: Quilting

As promised, another quilt finish comes up today.

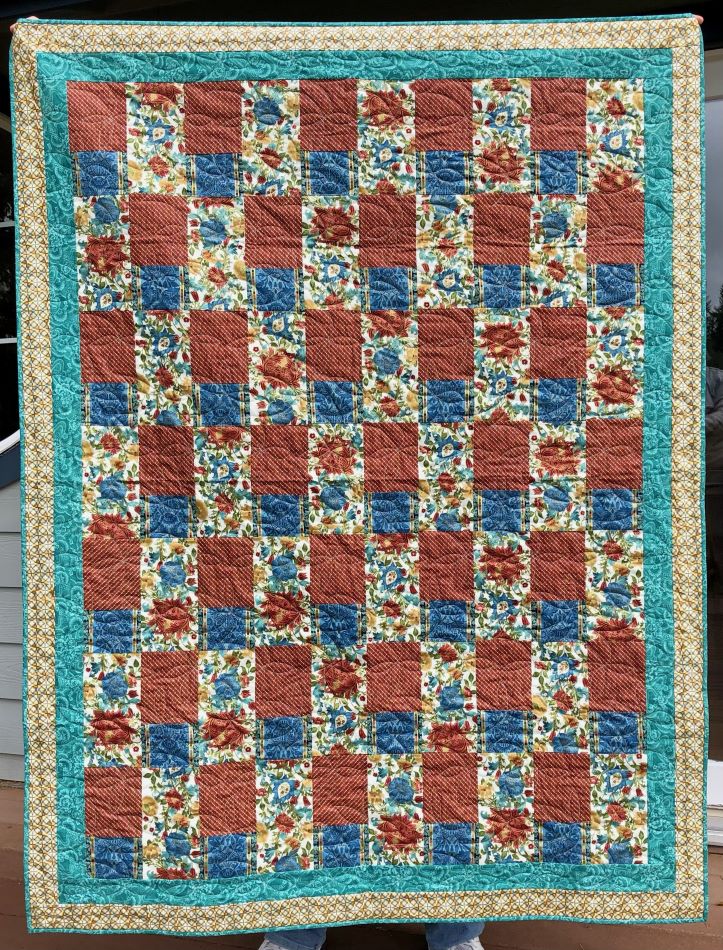
I found a tutorial on YouTube for a quilt starting with a layer cake (42 ten-inch squares of coordinating fabric). I did not have one on hand but did have a stack of coordinating fat quarters. This gave me more duplicates but I had other similar fabrics in the stash to supplement them.

The process is complicated to describe but easy to execute.

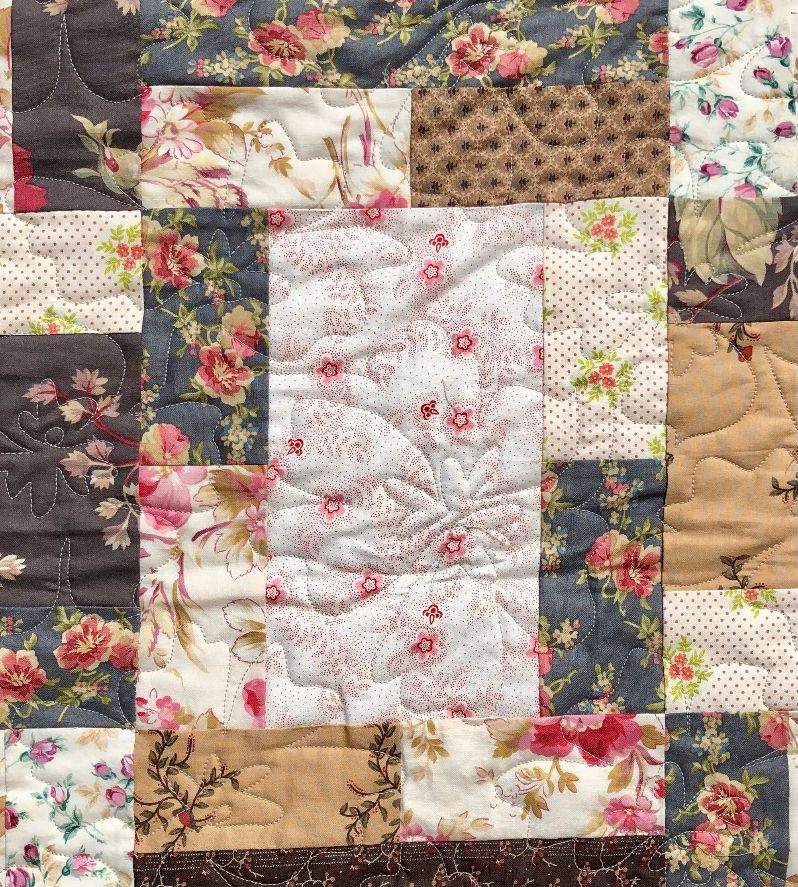
This is the quilt top I put together with these lovely florals:

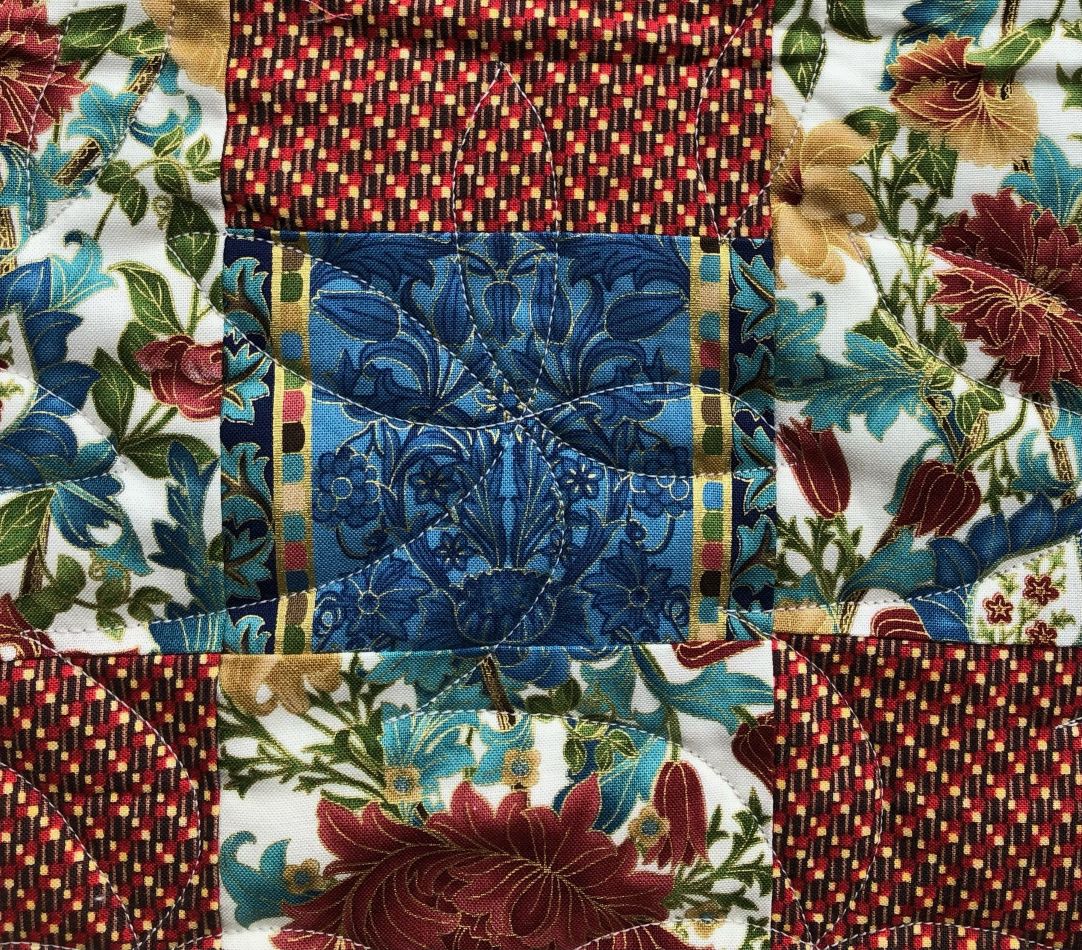
I did the quilting with large open blooms in an edge-to-edge pantograph:


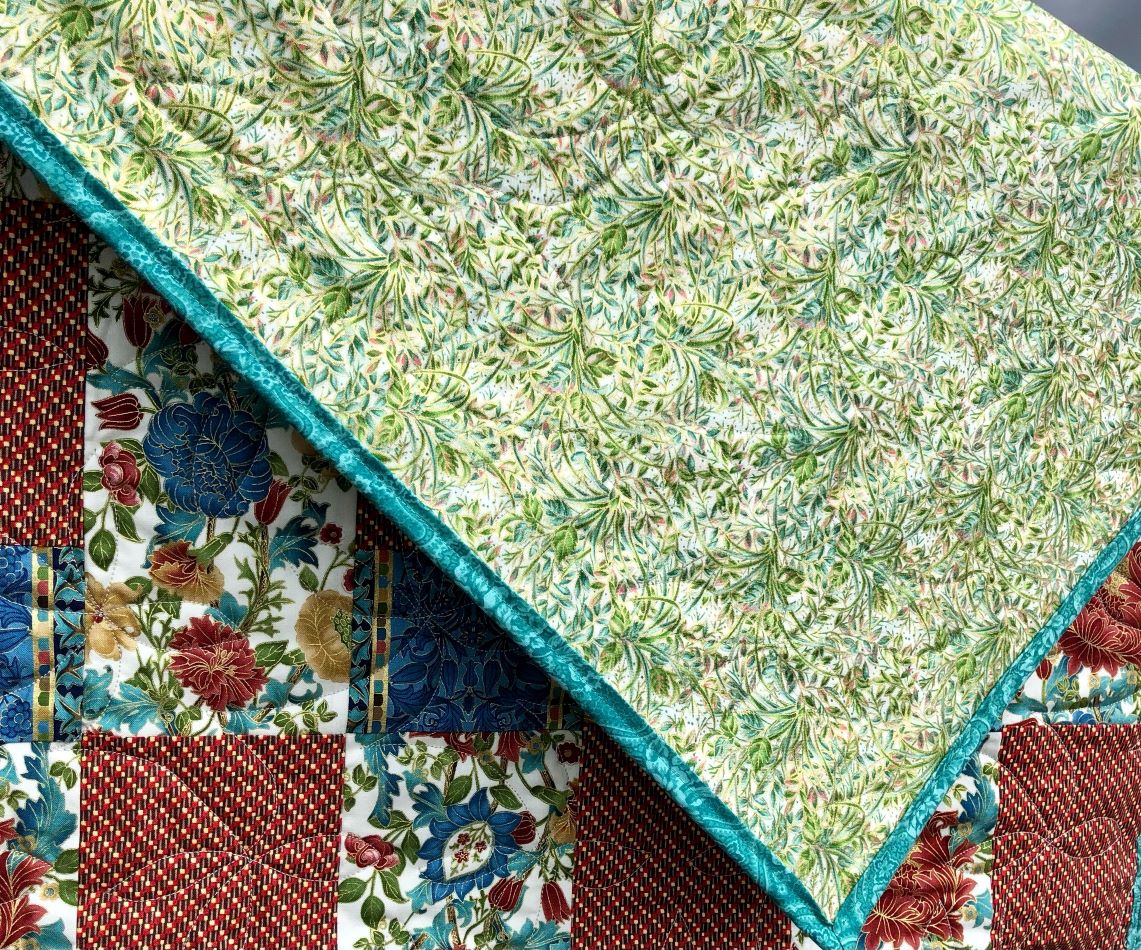
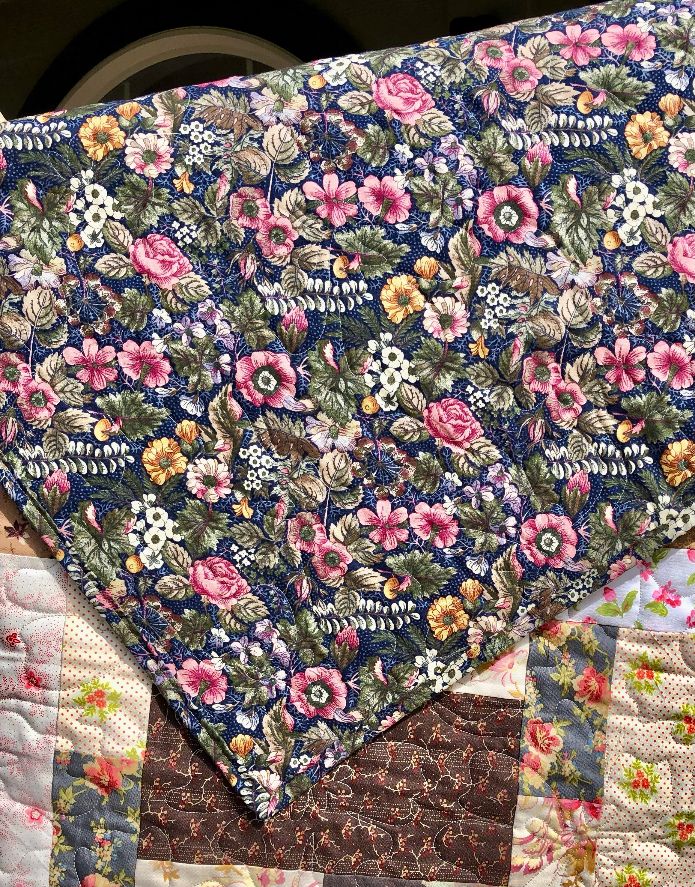
The backing is a dark floral yardage that I picked up at a yard sale last summer and the binding matches it.


Ddd


Posted by studio3d@ccgmail.net at 9:25 PM PDT
Tuesday, 23 April 2024
Disappearing 25-Patch
Topic: Quilting

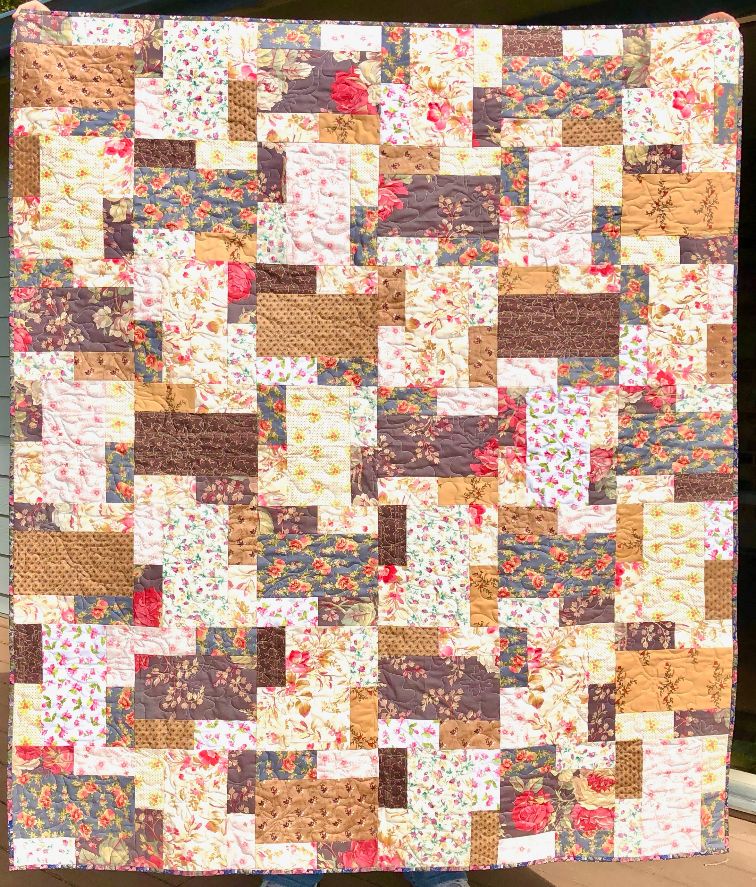
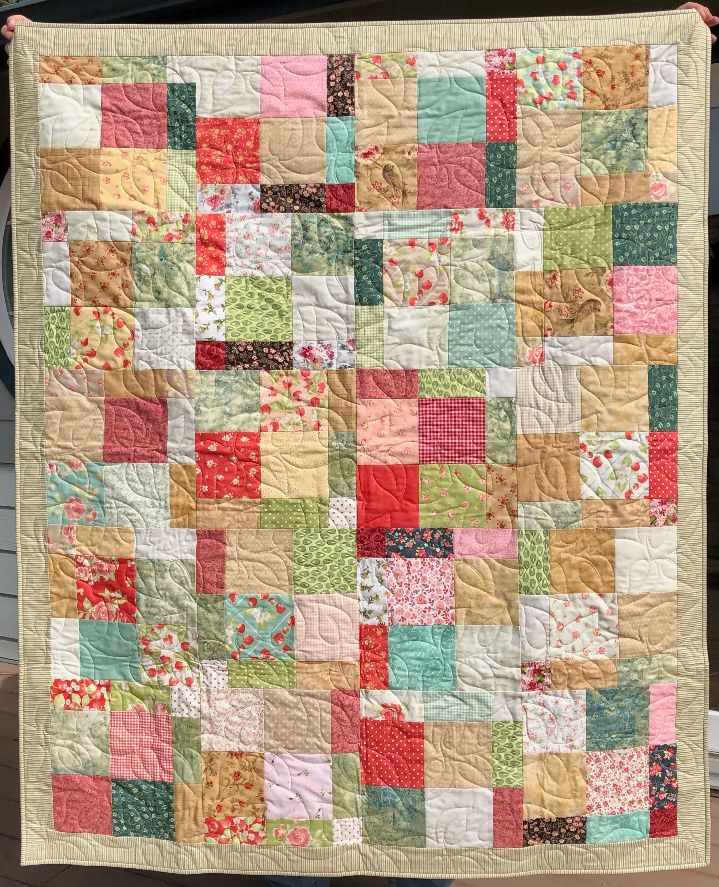
While cleaning up my fabric stash I ran across a charm pack that I had picked up at a yard sale last summer. I searched for a pattern that would make a quilt top with just these 42 squares but all required more. My favorite was made like a traditional disappearing 9-patch but the blocks, before whacking, were 5 x 5 (25 patch). The pattern described would end up square and take 100 charms. I wanted to make it rectangular by adding another 25 charms.

I went through the stash of scraps and pulled fabrics that fit the color range and style of the charm pack at hand and made up this quilt.


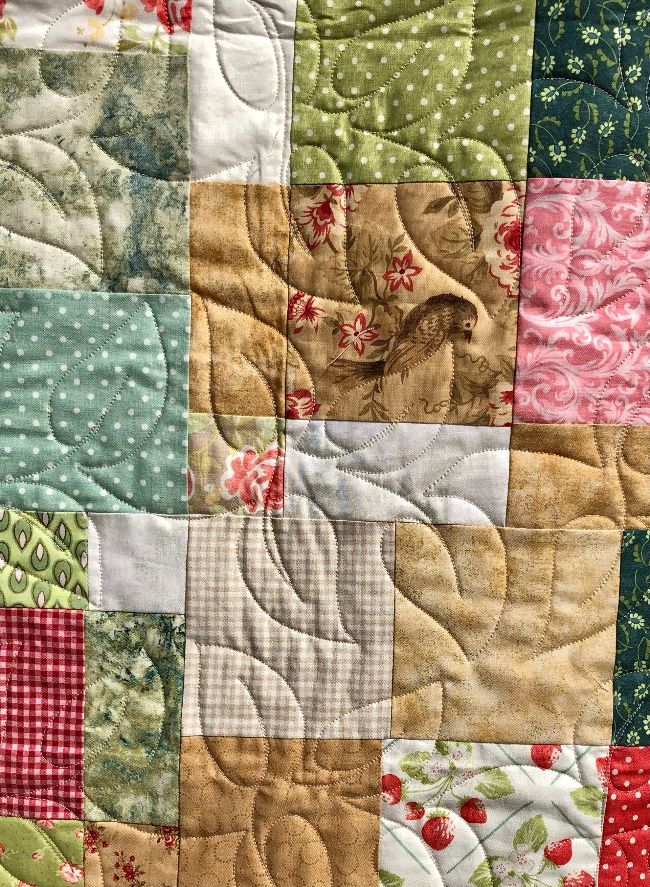
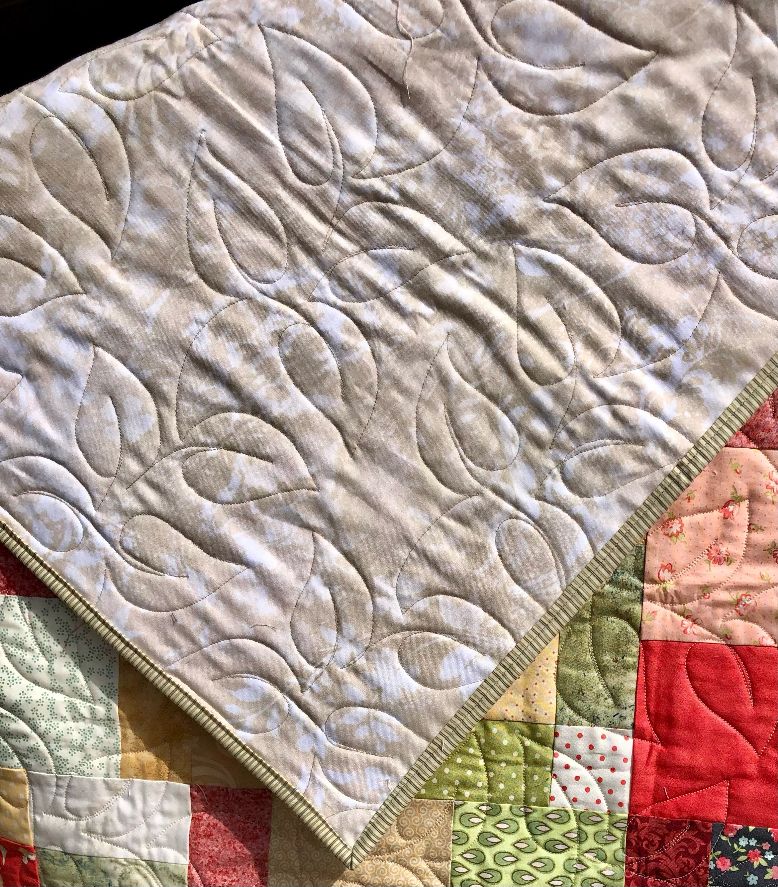
I used a leafy pantograph for the quilting.


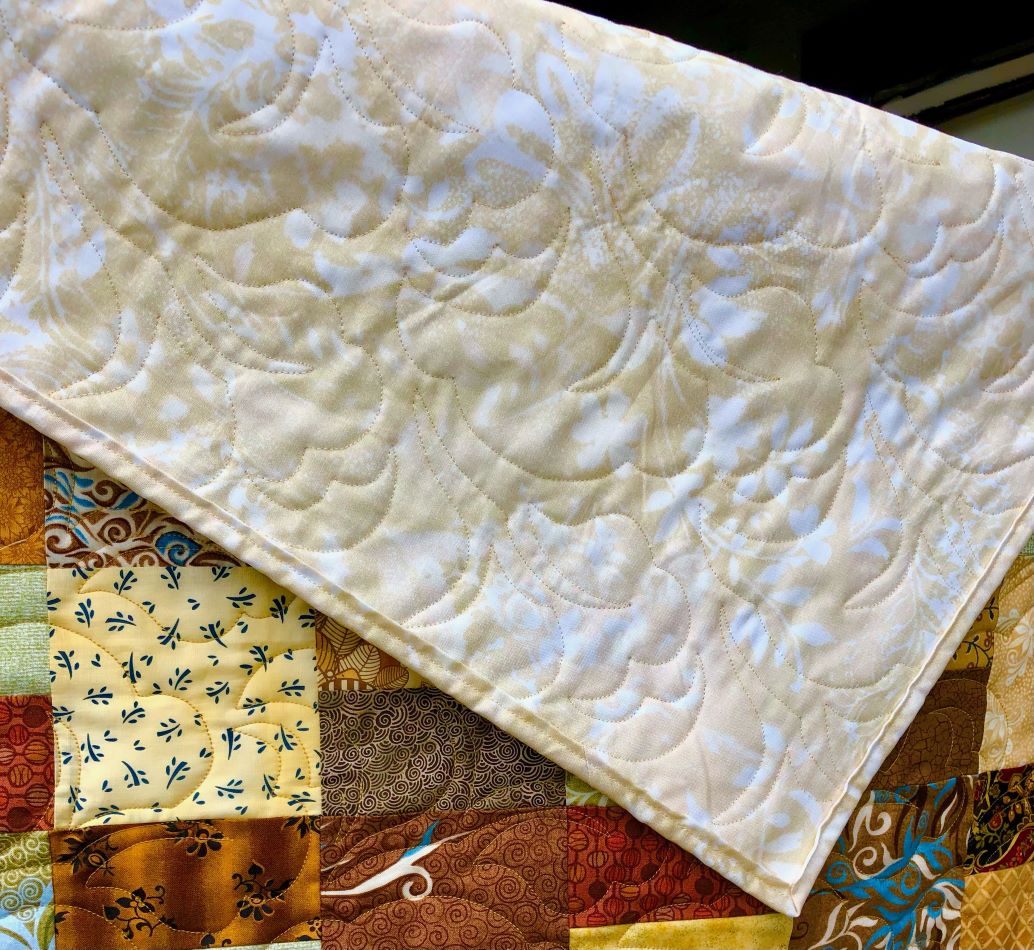
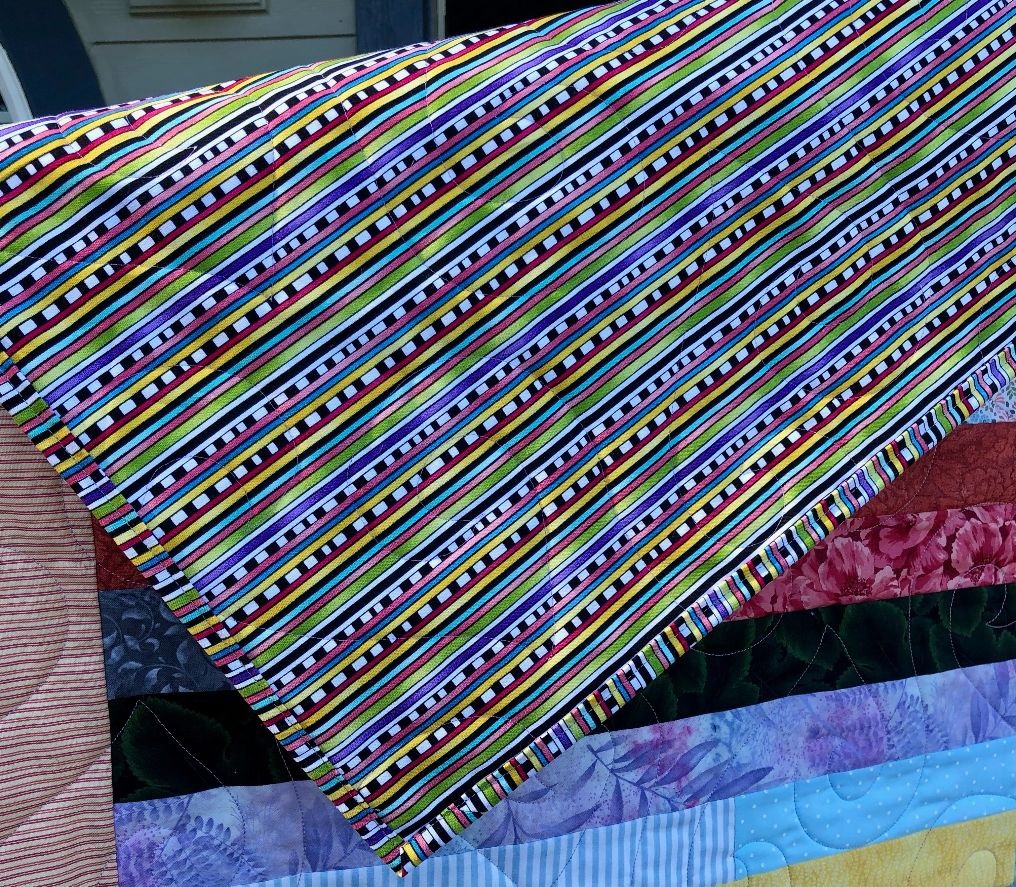
The backing is a tone on tone light color and the binding is a small green stripe.


Another quilt finish tomorrow!

Ddd


Posted by studio3d@ccgmail.net at 12:01 AM PDT
Friday, 19 April 2024
Strippety-Doo-Dah
Topic: Quilting

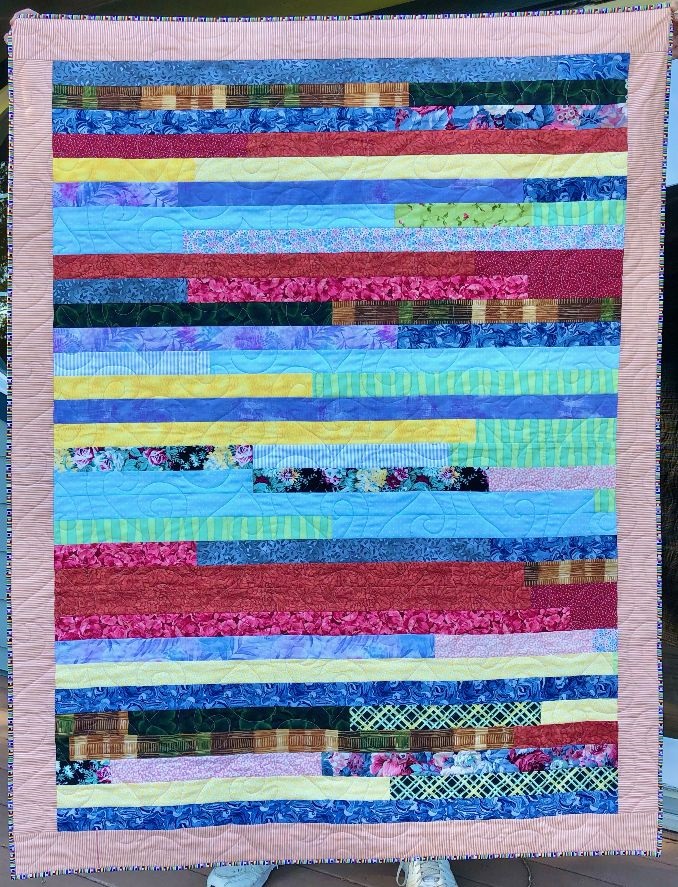
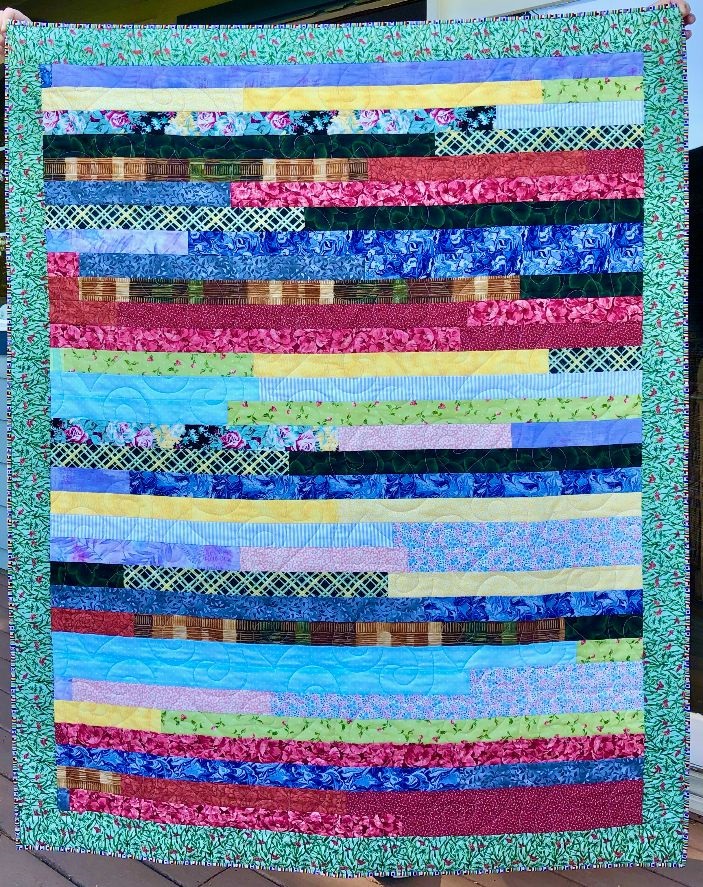
It's been a while, I know! I worked on a BIG sort/destash/overhaul of my fabric collection and along the way I chopped my way through piles of scraps and turned them into kits to make scrappy quilts. I ended up with two kits for 'potato chip' quilts, two charm pack quilts, a coin stack quilt, 3 layer cake quilts, two 'jelly roll race' quilts and 11 'button box' quilts. I also have scraps cut out to make two 'winter trees' quilts and many, many 'bird blocks' that I am not sure how I will use yet nor how many quilts they will yield.

In addition, I cut kits for 14 three-yard quilts and 6 more convergence quilts. There are still tons of scraps and yardage left so I sorted and refiled them. I have plastic file drawers that hold my fabrics. Some are sorted by 'theme' (panels, woodgrain, butterflies, fall, patriotic, hearts, etc) by 'pattern' (multicolored stripes, multicolored dots, multicolored florals, etc) a drawer of strips bagged by width, a drawer of non-quilt sewing kits (casserole carrier, zipper bag...) and a few 'coordinates' (blue and yellow fabrics...) for which I have no pattern selected.

The rest of the fabrics are in hanging files in plastic drawer units separated by color and with all the pieces over 1/4 yard marked with the piece size.

I had been, along the way, pulling out kits and sewing them up into quilt tops. So, when all the sorting was done I measured up backings and battings for the 10 I had ready and started longarming them. The first two were 'group projects' (one person contributed their orphan blocks, another person make a top of them, I did the quilting and passed them on to the fourth person for binding).

Then I quilted up the two I'm sharing today.

I had a lot of 2 1/2 inch strips left over from making sashings and borders for quilts. I separated them into rainbow order and sewed them end to end going through the color order several times. Then I brought the ends of this very long strip together and sewed side by side till I got to the center fold and cut there. The ends were again brought together and sewn side by side. This process was continued until I had one big striped piece that was wider than it was tall. I cut up the middle and created two lap quilts by placing a 3 inch border on each.


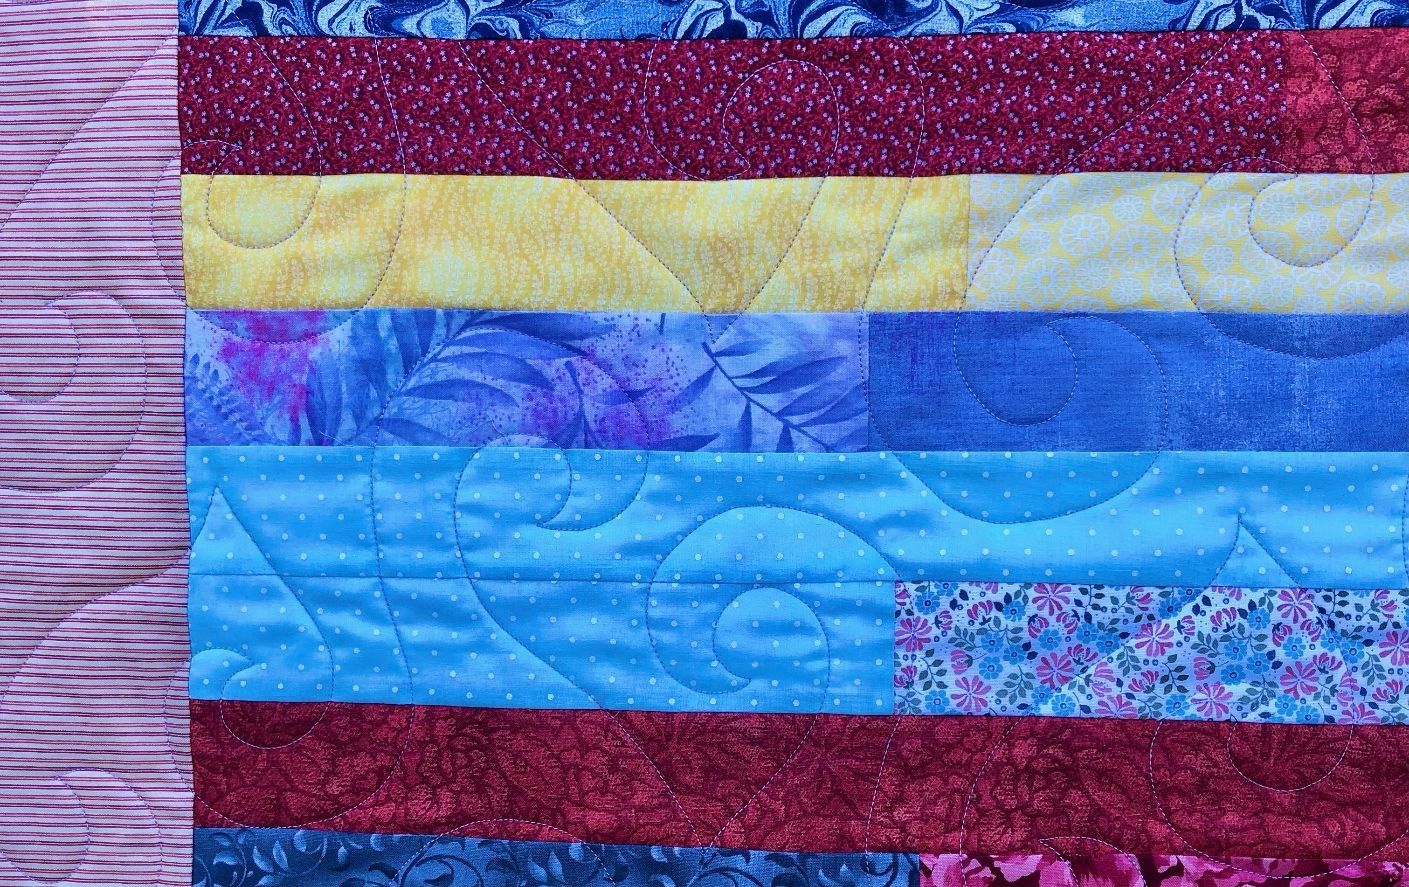
The quilting is the same on both of them, a very large swirl done in lavender.


And the backing and binding is the same for both as well. 


I plan to keep tackling the longarming pile as we have a donation date of June 6.

Ddd


Posted by studio3d@ccgmail.net at 11:21 PM PDT
Monday, 19 February 2024
New Tour of the Sewing Studio
Topic: In the studio
Today I thought I’d show the final result of rearranging my sewing studio and adding a piece of furniture to it. My room is a former bedroom which measures 13' x 13' including a 'largish' closet.

Having come in the door, on the left is a rolling wooden cabinet with extensions on each end. On top is the Accuquilt machine (fabric cutter) which would be opened up for use.


Inside the drawers on the left are thread, sewing trims, zippers, other notions.


In the cupboard on the right are the tall dies for the Accuquilt (to cut strips, to cut setting triangles for on-point blocks, and one that cuts all the pieces of a complicated block). They all have ‘tabs’ to make pulling the right one easier.


Next along the same wall is a folding table that fits right into the corner. On top of it are the sets of cutting dies for the Accuquilt. I have them for 6”, 8”, 9”, 10” and 12” blocks.


Turning the corner, sitting straight ahead when you walk in the door, is the new cabinet that we ordered from Home Depot and built for the space. It is set up to be used as an ironing station which will accommodate yardage, quilt tops, backings, etc. It is 22” x 48” and is topped with a layer of InsulBright (protects surface from heat) and a 1/2” thick wool pressing mat.


Inside the lower cupboards are stored my old sewing machine, an embroidery machine and the serger. In the drawers are supplies like press cloths, fusible, and other things I might need at the ironing board. The lamp on the left is in the same power strip as the iron as a reminder to turn both off when leaving the room.


To the right of this new station is a folding tray where the iron 'lives' along with a small thread catcher and a winder for strips and bindings. Above it, a chain allows for a roll of batting to be mounted from the ceiling. I am short enough to walk under it.


Further to the right, under the window, is the sewing station. My machine lives here with a clear extension table for a larger workspace.


We added a 4’ power strip with 12 plugs mounted under the windowsill. This allows for a stereo, mini-iron, computer, iPhone, sewing machine and lights to enhance my space.
 

The cutting tablesits against the window and extends into the middle of the room. It is 6’ x 4’ and has two 36” x 48” cutting mats on top. At the back are racks of rulers, and bins with 'kits' of projects I have cut out.


The table is held up by 4 Walmart bookcases. These contain tools and notions that need to be immediately at hand.


The end one contains books and binders with a record of all the quilts I've made.


The third side has fusibles, printables, and other 'assembly' materials.

 
There is a space for some storage bins underneath one side.
 

Facing this is the closet which contains multiple ‘iris carts’ with the wheels off. This is fabric storage, sorted by color. The far right section is for ‘themes’ and the containers on top are for projects.


And there you have it! I am delighted with how it all came together - all with the addition of one cabinet and a power strip.

Ddd

Posted by studio3d@ccgmail.net at 4:29 PM PST
Friday, 15 December 2023
Tree Hugger
Topic: Quilting

It was requested that I make a quilt for a family friend. The gifter selected the fabrics from my stash of bolts and the pattern from a selection of 3-yard quilts I offered. I doubled the size and added another column to one side to bring it up to the desired size.

The feature fabric with the tree branches and the circle block that is 'hugs' led to the quilt name of Tree Hugger.


The quilting is an edge-to-edge meander of leaves.


This came together in six days from fabric/pattern selection to binding/labeling!


Ddd


Posted by studio3d@ccgmail.net at 10:40 PM PST
Sunday, 26 November 2023
Pastel Plaids
Topic: Quilting

Took me a while to figure out why this 3-yard quilt pattern is called 'time machine'. I'm thinking it is because they used Hourglass Blocks (but I may be wrong). It is from the book Easy Does It 3-Yard Quilts from Fabric Cafe.

It has been fun going through my stash and pulling out one-yard cuts to see what I can combine to coordinate. I've had a few clunkers but I really do like this one.

I have had the pastel plaid for quite a while and it never did seem to fit when the blocks were cut small. Then I found this pattern with large blocks and had TWO fabrics with the same print in different colors - both of which were in the plaid. Perfect!


Such a soft and gently quilt top. I turned the plaids on every other row so it reinforces the woven look.

I quilted with an open design of three leaf clusters as I did not want to do a lot of heavy/dense quilting on this airy design. I used cream colored thread.


This is the last of my quilts for 2023.

Ddd


Posted by studio3d@ccgmail.net at 12:01 AM PST
Saturday, 25 November 2023
Poppy Fields
Topic: Quilting

This three-yard quilt is NOT from Fabric Cafe like the others I have been making. This one is a free pattern called 'topple' from iseestarsquilting.com

I'm still working my way through some wide stripe floral fabrics and had just the right amount to make the blocks for this. The red dot fabric is from my sister's stash and the reds matched perfectly!

I adjusted the layout of the blocks to make a more linear design. Original was quite diagonal and I much preferred this way.


The background green is fields of flowers (grasses and daisies) with the green matching the leaves in the poppy fabric.

I quilted with dark green thread in an open floral pattern.


Red dot for the binding is fun, too.

Ddd


Posted by studio3d@ccgmail.net at 12:01 AM PST
Friday, 24 November 2023
Daisy Bug
Topic: Quilting

The quilt for today was made for the birthday gift of a 3-year old. I went with colorful daisies and a zillion ladybugs.

I had this daisy fabric on hand but the three-yard quilts didn't use enough colors to highlight them. So I chose LOTS of colors (7 total fabrics in this quilt but still only 3 yards total) and scattered them to create a balanced composition.

The same black-background ladybug fabric is used on the quilt back.


The quilting is done in a dark red using a pantograph pattern called 'affection' - big hearts.


I love that the purple fabric and the green both have daisies on them.

Ddd


Posted by studio3d@ccgmail.net at 12:01 AM PST
Wednesday, 8 November 2023
Leafy Convergence
Topic: Quilting

As I promised myself, I skipped back to a convergence quilt for some variety.

The star of the show in this one is the rich colored fall leaves. The beginning blocks were small enough that the center was not large enough to suit me (and too square). I pulled out more of the leaves and some black strips to build extension panels at the top and bottom.

Then I added wide borders all around to amp up the size.


This is SO rich in color and really warms up a room.

I used a pantograph of leaves in keeping with the theme.


Sorry about the color in this shot. Photo one is more true to color.

Ddd


Posted by studio3d@ccgmail.net at 1:34 PM PST
Tuesday, 7 November 2023
Jacob' Medallion
Topic: Quilting

Those who know me well will recognize how much I don't like doing the same thing over again. That was the reason behind making all three of these Jacob quilts at once. I don't like to do one thing all the way through and then do the same thing again all the way through.

Even though I was working on all three at once, when I got to the third and it was using almost all the same fabrics as number two, I had to break the mold. I rearranged all the blocks and gave myself a new layout. I call this one Jacob's Medallion.


I also got tired of doing borders (my least favorite part of making quilts) so bothtwo and three got only two borders instead of three like the pattern showed.

I did keep the large outlined flowers for the quilting pantograph.


Still loving that blue stained glass fabric.

Ddd


Posted by studio3d@ccgmail.net at 12:01 AM PST
Monday, 6 November 2023
Jacob's Ladder
Topic: Quilting

Round two of the Jacob's Ladder 3-yard quilt pattern.

Entirely different set of fabrics for this version. That dark blue stained glass is fabric I picked up in Juneau on our last visit. The rest was from the stash.

A large scale lower outline is the pantograph I used for quitling.


Yay! I got rid of more paisley fabric.

Ddd


Posted by studio3d@ccgmail.net at 12:01 AM PDT
Sunday, 5 November 2023
Jacob's Staircase
Topic: Quilting

I first saw the pattern for this shared on a Missouri Star Quilt Company tutorial. It was the first 3-yard quilt I had ever seen. It wasn't until our quilt group leader started buying the 3-yard quilt books from Fabric Cafe that I became enamored with them (and bought ALL the books, too!) that I ran across this pattern again.

I pulled THREE sets of fabrics to make this pattern and cut all the pieces into kits and packaged them. When I was ready to begin, I pulled all the kits and worked on all of them at once (step one on all three, step two on all three, etc. This followed all the way through the quilting and binding.

In the book the pattern is called Jacob's Ladder but the strong diagonal of offset blocks led to my renaming it Jacob's Staircase.


I used a curl pattern with a diagonal offset to quilt with.


More of this pattern tomorrow.

Ddd


Posted by studio3d@ccgmail.net at 12:01 AM PDT
Updated: Wednesday, 8 November 2023 1:11 PM PST
Convergence of Florals
Topic: Quilting

I have been fascinated with the 'convergence quilt' concept since I first saw it and have made several since then. The concept was developed by Ricky Tims and I borrowed his book from the library for the instructions.

Last time I cut the fabrics for one I pulled several more sets and put them aside for later. Then I got involved making 3-yard quilts (from Fabric Cafe) and the convergence sets got put away.

Just lately I decided to intersperse the two types to give myself a little more variety.

This one is called 'Convergence of Florals' as the colorful floral is the feature fabric and the three other fabrics were closen to mix well with it.

I had enough of the floral to cut a border as well.

The quilting pattern is a pantograph called 'Bountiful Feathers'.


Back to work!

Ddd


Posted by studio3d@ccgmail.net at 12:01 AM PDT
Friday, 13 October 2023
Craft Fair - Cards
Topic: Multi-Technique

The last caregory of crafts I made for the fair was cards. They cover 7 different styles.

Fortuitously, I got three display racks for free this week in a craft supplies swap. SCORE!

This first rack holds 1) 3D cuttings mounted on handmade paper (that I made many years ago) and 2) laser etched 3D illustrations.


Rack two holds 3) original drawings in the front row with 4) watercolor painted cards behind.


Rack three has 5) two photo cards 6) collage cards and 7) stamped and colored cards.


I have a total of 87 cards priced at $2 to $3 depending on the time/skills required to complete them.

Ddd


Posted by studio3d@ccgmail.net at 12:01 AM PDT
Thursday, 12 October 2023
Craft Fair - Gift Bags
Topic: Sewing

I got away from paper crafts for a bit to create some gift bags. I went searching for 'origami gift bags' thinking I was going to find the sort that would be folded out of scrapbook paper. Instead I found a fabric version that did not in any way resemble the ones I went looking for!

These start with two squares of fabric (mine were 18 inches but you could go down to 15.5 for a smaller bag). These are laid faced together and sewn around the edge (with a gap for turning). After topstitching all four edges the folding begins, with stitching steps interspersed.

Two loose flaps are stitched down with buttons to decorate and a casing is stitched around the top edge.

Coordinating ribbon or cord is threaded through the casing and the project is done.


The little bag in the center of the bottom photo is the one I made as a sample. I used a 15 inch square to start with for this one.

These will be sold for $5 each.

They can be used as gift bags but also make a cute purse for a little girl.

Ddd


Posted by studio3d@ccgmail.net at 12:01 AM PDT
Wednesday, 11 October 2023
Craft Fair - Collage Under Glass Jewelry
Topic: Jewelry

In a drawer labeled 'Other Projects' I found a couple of boxes of microscope slides I used to make jewelry long ago (notice how I cycle through different materials and processes over the years). One box was the standard 1 inch x 3 inch glass and one box was 1 1/2 inch squares.

I created miniature collages and sandwiched them under glass. I had metal tape to bind the edges (silver, copper and bronze). 

The faces of the collages are decorated with metallic stickers and/or charms applied with E6000 glue. 

9 of these have pin back and bail combination units so the piece can be worn as a necklace or a pin.

For 3 of the square ones I had metal frames for them to fit into (rather than the metallic tape) and these had a single loop for a bail to clip onto. 

All of the pieces have a chain included.


These will all be sold for $10.

Ddd


Posted by studio3d@ccgmail.net at 3:13 PM PDT
Tuesday, 10 October 2023
Craft Fair - Collaged Tins
Topic: Boxes

Yet another supply I've had on hand for ages is little tins (the size of Altoid boxes). I had a total of 8 with some being silver and some painted white.

I pulled out all sorts of fancy papers to cover the lids (and sometimes the bases), found a variety of trims to decorate the edges of the lid and the base (these were applied with E6000 glue) and then used stickers, charms and diecuts to decorate the tops.

These are the perfect size to use as a container when giving a gift card or a small piece of jewelry.


The 8 of these will go for $3 each.


Ddd


Posted by studio3d@ccgmail.net at 12:01 AM PDT
Monday, 9 October 2023
Craft Fair- Boxes
Topic: Boxes

As I was looking for projects to make I went through old supplies I had stashed around. Long ago I had bought a lot of these ceramic boxes to use at a women's retreat as a group craft. I discovered I had a full dozen of them still in my cupboard.

These are faux-marbled with alcohol inks (three colors plus a metallic) applied with felt daubers. When completely dry I took them outside and applied spray clear-coat.

The boxes were extremely inexpensive and the other supplies minimal so I only put a price of $6 on them.


I have a total of 12 of these little 2 inch boxes. SO CUTE!

Ddd


Posted by studio3d@ccgmail.net at 12:01 AM PDT
Sunday, 8 October 2023
Craft Fair - Birthday Books
Topic: Books

I have made these little birthday/anniversary reminder books a number of times since I designed them at least 15 years ago.

They are made from a single sheet of letter-sized paper which has been printed with date blanks for every day of the year (one month per page). The sheet is scored then cut in a continuous concertine and glued inside hard covers that have been covered in decorative papers.

A strip of contrasting paper is glued on the spine.

Each of the dates has a line where you can add a name and the year of birth or anniversary so it becomes a perpetual reminder. (Yes, you do have to do math to figure out how old they are or how long married).

I write mine in pencil in case something changes :(


I made 20 of these to sell for $1.

Ddd


Posted by studio3d@ccgmail.net at 12:01 AM PDT
Saturday, 7 October 2023
Craft Fair - Paper Beads
Topic: Beads

My next project for the craft fair was making paper beads. As usual I cut out WAY too many and got tired of rolling them up after 5 sets.

I cut triangles out of marbled scrapbook paper.. Triangles are 3/4 to 1 inch wide at the base and is 12 inches long. Starting at the wide base they are rolled up on a round toothpick and the end is glued down.

Each bead is sealed with nail polish topcoat. Then I chose coordinating beads from my random collection and strung them into necklaces from 27 to 32 inches long. They have screw closures.


A couple of the necklaces are made from beads I had left over from the last time I made some.

I have a total of 7 which I have priced at $6.

Ddd


Posted by studio3d@ccgmail.net at 12:01 AM PDT

Newer | Latest | Older